
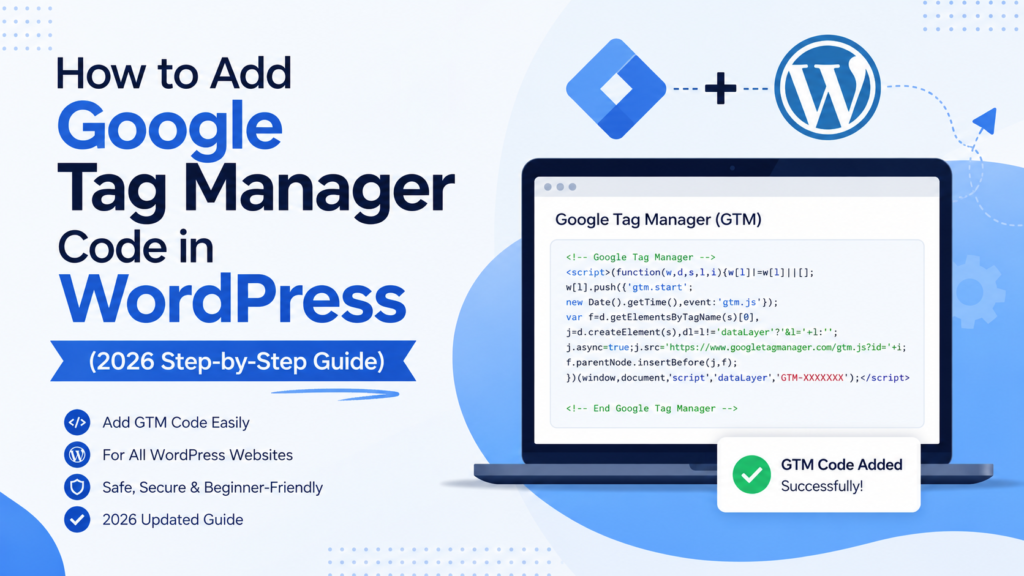
Adding Google Tag Manager code to WordPress takes about ten minutes, and you have three ways to do it: install a plugin, paste the code manually into your theme, or use your theme’s built-in header and footer settings. This guide walks through how to add Google Tag Manager code in WordPress using each method, so whether you are a complete beginner or a marketer setting up tracking for a client, you can pick the approach that suits your comfort level and get it working correctly the first time.
Google Tag Manager (GTM) is a free tool from Google that lets you manage all your tracking codes — Google Analytics, Meta Pixel, Google Ads, and more — from a single dashboard, without editing your website’s code every time you add a new tag. Instead of pasting five different scripts into your site, you paste GTM once and control everything else from inside it.
If you are still unsure whether you need GTM, Google Analytics, or both, read our explainer on the real difference between Google Tag Manager and Google Analytics first — then come back here to install it.
What you need before you add Google Tag Manager to WordPress
Before you touch your site, get these three things ready:
- Admin access to your WordPress site — you need to be able to install plugins or edit theme files.
- A free Google Tag Manager account and container — this gives you a container ID that looks like
GTM-XXXXXXX. - Your GTM container ID — keep it copied somewhere handy; you will need it in every method below.
To create your container, go to tagmanager.google.com, sign in with your Google account, and click Create Account. Enter your business name, choose your country, name the container (usually your website URL), and set the target platform to Web. Click Create, accept the terms, and Google will show you two code snippets plus your GTM-XXXXXXX ID. Google’s own official install a web container guide covers this account setup in detail if you get stuck.
Now choose one of the three methods below. You only need one — do not combine them, or you will install GTM twice.
Method 1: Add Google Tag Manager code in WordPress using a plugin (easiest)
For most beginners and business owners, a plugin is the safest way to add the Google Tag Manager code in WordPress. You never touch a line of code, and the tag survives theme updates. The most trusted option is GTM4WP (Google Tag Manager for WordPress).
- In your WordPress dashboard, go to Plugins → Add New.
- Search for “GTM4WP” or “Google Tag Manager for WordPress.” You can also download it directly from the official GTM4WP plugin page on WordPress.org.
- Click Install Now, then Activate.
- Go to Settings → Google Tag Manager.
- In the General tab, paste your
GTM-XXXXXXXID into the Google Tag Manager ID field. - Set the Container code placement to Footer (default) or Custom. If your tags do not fire later, switch this to Codeless injection or the custom option and re-test.
- Click Save Changes.
That is it — the plugin now injects both GTM snippets into every page automatically. This is the method we recommend for anyone who is not comfortable editing code, and it is one of the first tools we teach hands-on because GTM sits among the essential digital marketing tools every beginner should learn.
Method 2: Add the Google Tag Manager code manually (head and body)
If you prefer full control — or you are learning how the code actually works — you can paste the two GTM snippets directly into your theme. Google gives you exactly two pieces of code.
Snippet 1 goes as high as possible inside the <head> tag:
<!-- Google Tag Manager -->
<script>(function(w,d,s,l,i){w[l]=w[l]||[];w[l].push({'gtm.start':
new Date().getTime(),event:'gtm.js'});var f=d.getElementsByTagName(s)[0],
j=d.createElement(s),dl=l!='dataLayer'?'&l='+l:'';j.async=true;j.src=
'https://www.googletagmanager.com/gtm.js?id='+i+dl;f.parentNode.insertBefore(j,f);
})(window,document,'script','dataLayer','GTM-XXXXXXX');</script>
<!-- End Google Tag Manager -->
Snippet 2 goes immediately after the opening <body> tag:
<!-- Google Tag Manager (noscript) -->
<noscript><iframe src="https://www.googletagmanager.com/ns.html?id=GTM-XXXXXXX"
height="0" width="0" style="display:none;visibility:hidden"></iframe></noscript>
<!-- End Google Tag Manager (noscript) -->
Replace GTM-XXXXXXX in both snippets with your real container ID. In WordPress, the <head> code goes into your theme’s header.php file (right after the opening <head>), and the body code goes right after the <body> tag in the same file.
Important: if you edit your parent theme directly, your changes will be wiped the next time the theme updates. Always use a child theme for manual edits, or use Method 3 below, which is safer and just as effective.
Method 3: Add GTM using theme settings or a header/footer plugin
This is the middle path — no core file editing, but more control than a dedicated GTM plugin. Many modern themes (Astra, GeneratePress, Kadence, Blocksy) include a Custom Code or Header & Footer Scripts area under theme settings. If yours does not, install a free plugin such as WPCode or Insert Headers and Footers.
- Open your theme’s header/footer settings, or the code-snippet plugin.
- Paste Snippet 1 into the Header (or “scripts in head”) box.
- Paste Snippet 2 into the Body (“after opening body tag”) box if the tool offers one.
- Save.
Note: some header/footer plugins only support Header and Footer positions, not “after the body tag.” That is usually fine — the head snippet alone handles the vast majority of tracking, and the body noscript snippet is only a fallback for visitors who have JavaScript disabled.
How to check your Google Tag Manager code is working
Never assume the code is live — always verify.
- Use GTM Preview: inside Tag Manager, click Preview, enter your website URL, and connect. When the Tag Assistant window shows “Connected,” your container is firing correctly.
- Check the page source: open your website, right-click → View Page Source, and search (Ctrl/Cmd + F) for
GTM-. If your container ID appears, the code is installed. - Install the Tag Assistant Chrome extension for a quick green/red status on any page.
Remember: installing the container is only step one. Nothing is actually tracked until you add tags inside GTM and click Submit → Publish.
Common mistakes when adding GTM code in WordPress
- Installing GTM twice. Using a plugin and pasting the code manually double-counts every event. Pick one method only.
- A typo in the container ID. One wrong character in
GTM-XXXXXXXand nothing fires. - Forgetting to publish inside GTM. An empty, unpublished container tracks nothing, even when installed perfectly.
- Caching. After adding the code, clear your WordPress cache and CDN (Cloudflare, etc.) so visitors get the updated pages.
- Ignoring consent rules. If you serve users in regions with consent laws, configure your consent-management plugin to work with GTM.
What to set up after GTM is live
Once the container is installed and published, GTM becomes your control room for every tracking tool. The most common next steps are deploying Google Analytics 4, adding the Meta Pixel and Google Ads tags, and setting up conversion tracking so you can measure what your marketing actually earns.
If the GTM-versus-GA4 relationship still feels fuzzy, our full breakdown of Google Tag Manager vs Google Analytics explains exactly how the two work together — GTM deploys the code, GA4 reports the data. And if you want to practise all of this on a live site instead of just reading about it, there is no better exercise than building your own website and installing tracking on it yourself.
Frequently Asked Questions
Do I need to know coding to add Google Tag Manager in WordPress?
No. The plugin method (Method 1 with GTM4WP) requires zero coding — you install the plugin, paste your GTM-XXXXXXX ID, and save. Manual installation only needs basic copy-paste into your theme, ideally through a child theme.
Where exactly do I paste the Google Tag Manager code in WordPress?
The first snippet goes inside the <head> section, as high as possible. The second (noscript) snippet goes immediately after the opening <body> tag. With a plugin, you skip this entirely and just enter your container ID.
Is Google Tag Manager free?
Yes. Google Tag Manager is completely free for standard web and app use, including unlimited tags, triggers, and variables. You only pay if you move to Google’s enterprise 360 suite, which most businesses never need.
Can I use Google Tag Manager and Google Analytics together?
Yes, and you should. GTM is the container that deploys and manages tags; Google Analytics is one of the tags you add inside it to report your data. See our guide on Google Tag Manager vs Google Analytics for how they complement each other.
Which is the best plugin to add GTM in WordPress?
GTM4WP (Google Tag Manager for WordPress) is the most established choice and adds useful data-layer features for WooCommerce and posts. For a lighter, general-purpose option, WPCode or Insert Headers and Footers also work well.
Will adding GTM slow down my WordPress site?
The impact is minimal when configured properly. GTM loads asynchronously, so it does not block your page. Slowdowns usually come from stacking too many heavy tags inside the container — not from GTM itself.
Put this into practice with real projects
Installing Google Tag Manager is one small skill inside a much bigger toolkit — tracking, analytics, ads, SEO, and content all connect. If you want to learn these hands-on with live client projects instead of theory, explore our practical digital marketing course in Mysore, where students set up tracking on real websites, run real campaigns, and build a job-ready portfolio.
About the author: Jayateerth Kulkarni is the founder of ETMark Academy and Sugar Salt Media. He works hands-on with tracking, analytics, and paid media for clients across real estate, healthcare, education, and e-commerce, and teaches practical, tool-first digital marketing to students and business owners in Mysuru.